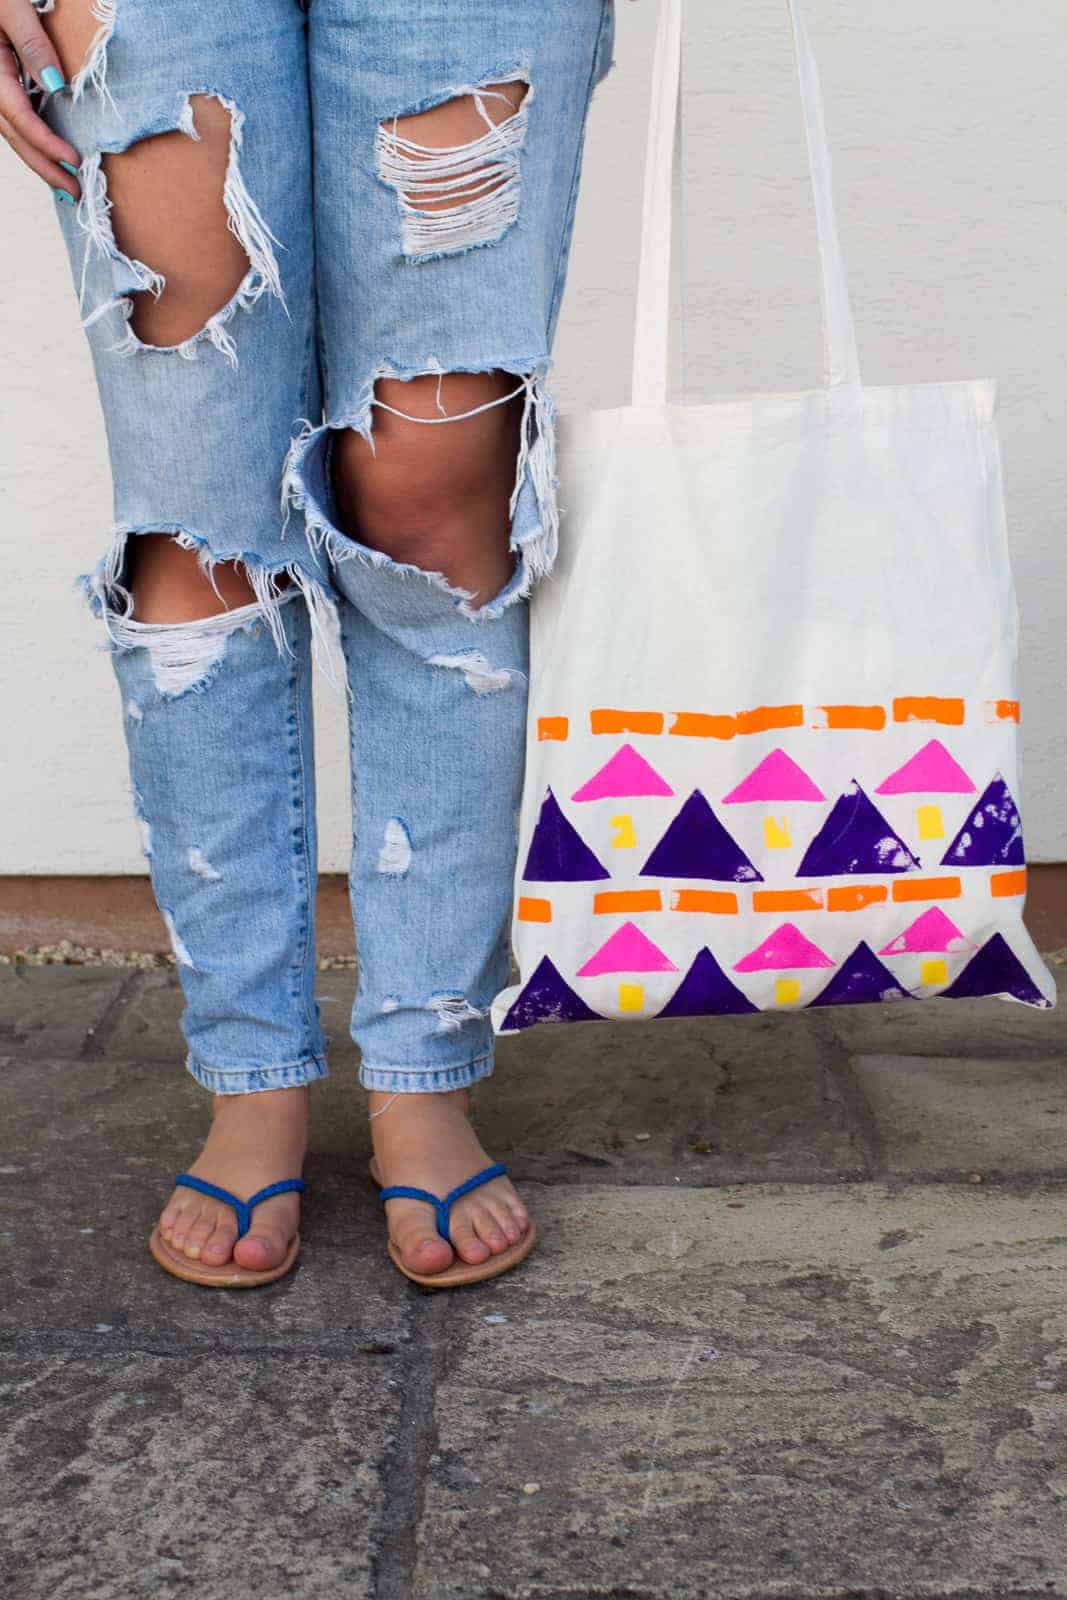
DIY Aztec Tote Bags + Video Tutorial!
Does anyone else love tote bags as much as us?! We’ve seen them so many times all over Pinterest but really wanted to put our own spin on them and since we LOVE aztec and all the geometric patterns that are everywhere at the moment we figured a DIY aztec tote bag would be the perfect tutorial! PLUS you can make your design as simple or as complicated as you like! How cute would these be to give to your bridesmaids? Maybe you could even pop your favourite book inside as a gift! To make these bags all you’ll need is:
Acrylic paint // sponges // scissors // tote bags (ours were £1 each off Ebay! What a bargain!) //
Right, let’s get started shall we?
STEP 1: Cut your sponges to the shapes that you want to use for your pattern, I cut 2 triangles and 2 rectangles, all various sizes.
STEP 2: Pour your paint onto a plate, or separate plates if you’re using a lot of colours and can’t fit them all on. There needs to be enough space between them to move your sponge around within the paint.
STEP 3: Dab one of your sponges into a colour of your choice then press it down onto your tote bag! It’s best to create some sort of pattern, perhaps do a line of large triangles, then a line of rectangles, next line small triangles, then repeat! You get the idea, go wild!
STEP 4: Once you’re happy with your pattern, leave your tote bag somewhere to dry and that’s it! You’re done!
If you’d prefer to watch this tutorial as a video then you can do so below! Also get a laugh at our outtakes at the end, filming a YouTube video can be harder than you think, we do have a lot of fun though as you’ll see!
Don’t forget to subscribe to our YouTube channel to keep up to date with all of our videos!
Much Bespoke Love
Jess x


