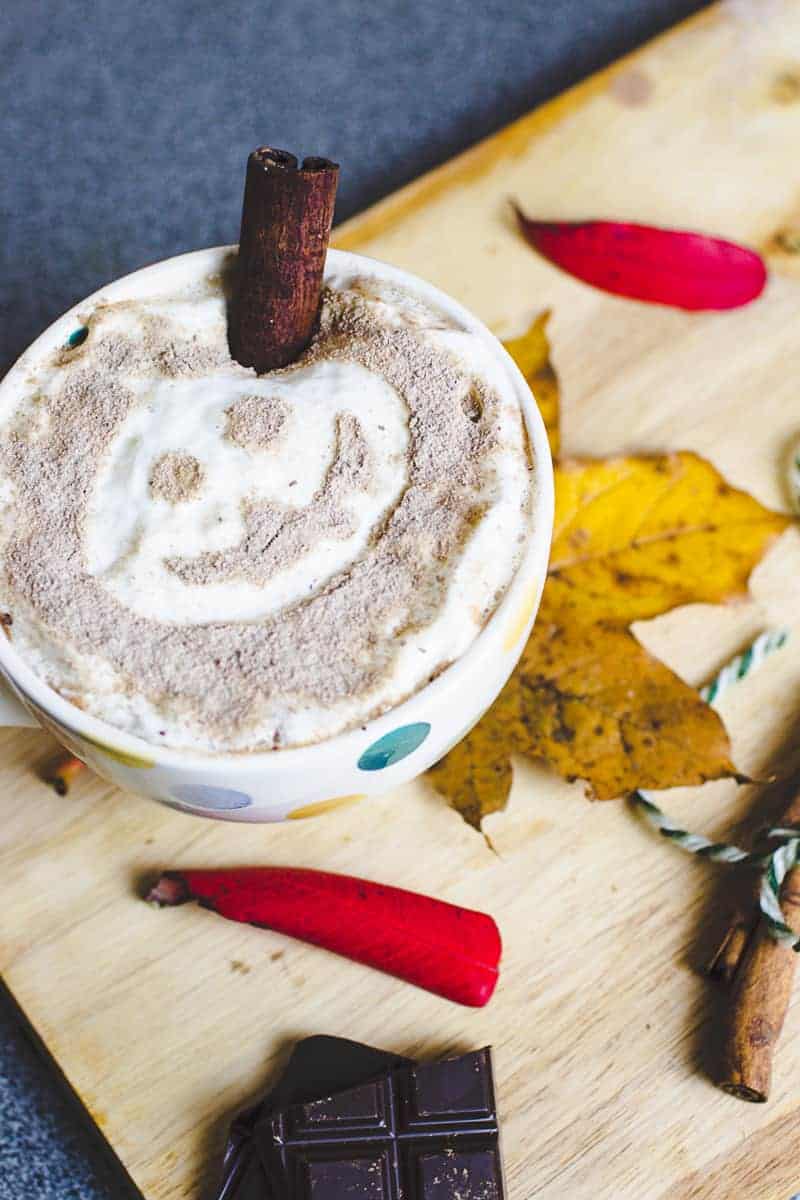
Real Hot Chocolate with Cinnamon & Orange Liqueur + Free Printable Pumpkin Stencils!

We can’t deny it anymore, with the clocks going back over the weekend and the sudden drop in temperature it is time to announce autumn is well and truly here. Although I am a real summer girl, I have to admit autumn is my second favourite season! I absolutely adore getting cosy and there is nothing better to warm your cockles than a mug of hot chocolate. So today we have created everyones favourite winter beverage but with a naughty twist!
Today’s post is especially exciting for us as it is the first time we have used our brand new Cricut Explore! Seriously this is the most amazing piece of kit and we will be sharing lots more about it with you over the next few weeks so stay tuned! For now enjoy your cocoa!
Supplies for 1 portion: 100 ml Water// 50 g Dark Chocolate// 1 Cinnamon Stick// 250 ml Milk// 1-2 tbsp Cointreau (orange liqueur)// Whipped cream// Cocoa powder//
Step 1: Add the chocolate, water and cinnamon to a saucepan and heat until the chocolate has melted.
Step 2: Add the milk and bring to the boil.
Step 3: Add the Cointreau.
Step 4: Serve with whipped cream and use our free pumpkin printable to create a festive twist on your hot chocolate! Once you’ve saved the JPEG you can upload it directly to your Cricut design space to cut out or you can simply print it onto card and cut it out yourself. Here is to an awesome autumn!
DIY Corner: What Else You Can do with Printable Pumpkin Stencils
In this section, we’ll be diving into the magical world of printable pumpkin stencils. These little gems can transform your Halloween decor from drab to fab in no time. Whether you’re a seasoned crafter or just looking for a fun weekend project, printable pumpkin stencils are your new best friend. Let’s explore some creative ways to use them!
1. Classic Carved Pumpkins
First up, the classic carved pumpkin. There’s something timeless about a glowing jack-o’-lantern on a chilly October night. With a printable pumpkin stencil, you can achieve intricate designs without the stress of freehand carving.
Instructions:
- Materials: Pumpkin, printable pumpkin stencil, tape, carving tools, and a marker.
- Prep: Print your stencil and tape it to the pumpkin.
- Trace: Use a marker to trace the design onto the pumpkin.
- Carve: Carefully carve along the traced lines.
Pros: Creates stunning, professional-looking designs. Perfect for impressing your neighbors! Cons: Carving can be time-consuming and messy. Watch those fingers!
Watch this video to get a glimpse:
2. Painted Pumpkins
Not a fan of carving? No problem! Printable pumpkin stencils are perfect for painting too. This method is great for kids or anyone who wants a less messy option.
Instructions:
- Materials: Pumpkin, printable pumpkin stencil, tape, acrylic paint, and brushes.
- Prep: Tape the stencil to the pumpkin.
- Paint: Use the stencil as a guide to paint your design.
- Dry: Let the paint dry completely before displaying.
Pros: No carving mess, and the pumpkins last longer. Plus, endless design possibilities! Cons: Requires a steady hand and patience for detailed designs.
Watch this to learn more:
3. Pumpkin Luminaries
Want to add a touch of elegance to your Halloween decor? Try making pumpkin luminaries using printable pumpkin stencils. These glowing beauties are perfect for lining your walkway or decorating your porch.
Instructions:
- Materials: Small pumpkins, printable pumpkin stencil, drill, and LED tea lights.
- Prep: Print and tape the stencil to the pumpkin.
- Drill: Use a drill to create holes along the stencil design.
- Light: Place an LED tea light inside the pumpkin.
Pros: Creates a beautiful, glowing effect. Safe for kids since it uses LED lights. Cons: Drilling can be tricky and requires some precision.
4. Pumpkin Decoupage
For a truly unique look, try decoupage pumpkins. This technique involves gluing pieces of paper onto your pumpkin, and printable pumpkin stencils can help you create intricate designs.
Instructions:
- Materials: Pumpkin, printable pumpkin stencil, tissue paper, Mod Podge, and a brush.
- Prep: Print and cut out your stencil design.
- Glue: Apply Mod Podge to the pumpkin and place the tissue paper pieces on top.
- Seal: Brush another layer of Mod Podge over the tissue paper to seal it.
Pros: Unique and artistic. Great for indoor decor. Cons: Takes time to dry and can be a bit messy.
Watch this video to learn more:
Final Thoughts
Printable pumpkin stencils are a game-changer for Halloween decorating. They make it easy to create professional-looking designs without the stress. Personally, I love using them for painted pumpkins because it’s a fun, mess-free activity that I can do with my kids. Plus, the designs last much longer than carved pumpkins.
So, grab your printable pumpkin stencils and get crafting! You’ll be amazed at what you can create. Happy Halloween! 🎃


