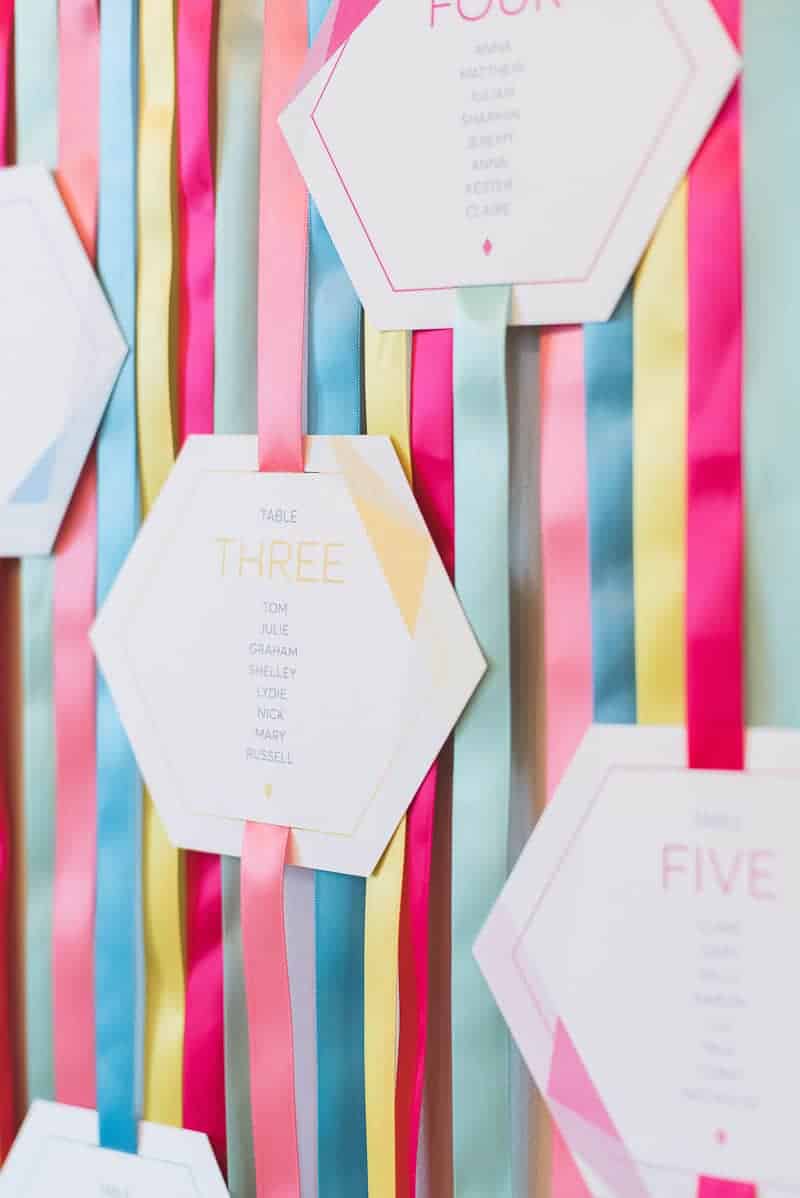
THIS RIBBON TABLE PLAN IS THE PERFECT DIY FOR COLOUR LOVERS!
We’re so excited to be welcoming Brooklyn Bridal to the blog today sharing this fun and colourful ribbon table plan tutorial! Brooklyn Bridal specialises in beautiful décor, supplies and accessories for the eclectic bride so we knew when they got in touch with a DIY it would be right up our streets!
YOU WILL NEED:
A long piece of bamboo // Metal eyelet screws // Selection of ribbons // Double sided tape // Clear fishing wire // Scissors // Table place name cards //
STEP 1:
Decide on the overall size you want your table plan to be – this may vary depending on the space you have at your wedding venue. We went for a bamboo stick piece approx. 1m wide.
STEP 2:
Screw the metal eyelets to either end of the bamboo pole – you can then thread clear fishing wire through this to suspend the whole thing.
STEP 3:
Decide on the coloured ribbons that you’d like to use and the length – we went for 6ocm drops here – cut each piece of ribbon down to the same length.
STEP 4:


One by one wrap each ribbon round the top of the bamboo and tape back onto itself using double sided tape to hold the end into place. Repeat this step with each piece of ribbon – you can play around with different colour orders and also the spacing between each ribbon.
STEP 5:


Finally decide on the layout and placement of your table place cards – we went for contrasting colours with the ribbons and a hexagonal design for a really bold and modern look. Get your stationer (or yourself if you are DIY’ing these too) to cut little slits at the top and bottom of each card with a stanley knife the same width as the ribbon so you can easily thread these through and move around until you are 100% happy.
SUPER SUPPLIERS:
Photography: Fiona Kelly // Ribbons: Brooklyn Bridal // Stationery: Lynda Loves //
Don’t forget, if you create any of our DIYs , hashtag them with #BESPOKEBRIDEDIY on Instagram so we can see! xx


Wonderful ideas. Very inspirational.
Wow Awesome Professional Designs Super…