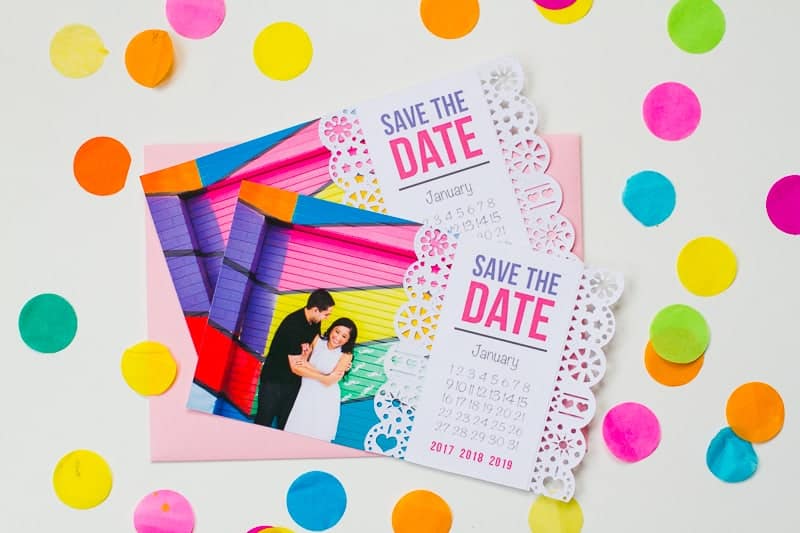
DIY PAPEL PICADO INSPIRED SAVE THE DATES

I can’t deny it, I love me some papel picado! I love the bright colours and the effect you get with the cut out shapes and I really wanted to design some save the dates that had those Mexican vibes! The fun thing about these save the dates is that you stick them over top of a photo of you guys and instantly add some personalization to them! Here’s how you can make your own…
YOU WILL NEED:
Printed photos of the two of you (sized 6 x 4 inches) // White card // A Cricut Explore // Mexican Die Cut template // Craft glue // A printer //
STEP 1:
Upload the die cut template to the Cricut Design Space and select the negative spaces that will be cut out.
STEP 2:
Size the template 4 inches in height to make sure it will fit perfectly with your photos.

STEP 3:
Load the white card into your machine and let the machine do all of the cutting out for you!
STEP 4:
Meanwhile, download the relevant month for your wedding date below and print out however many copies you need…
Download January, Download February, Download March, Download April, Download May, Download June, Download July, Download August, Download September, Download October, Download November, Download December.
STEP 5:
Pull your cut out design away from the Cricut Mat and glue on top of your photos, then cut out your month template and glue that in place too!
STEP 6:
Then all you need to do is circle (or heart) the date of your wedding on the invites (preferably in a pretty pink pen!) and you’re done!
Happy crafting! Don’t forget you can check out the rest of our Cricut tutorials here and for more printables click here! xxx
Photos used in stationery by Amy Gray Photography // Full engagement shoot here //


This is such a great idea! Love the fun colors used for the save the dates too!