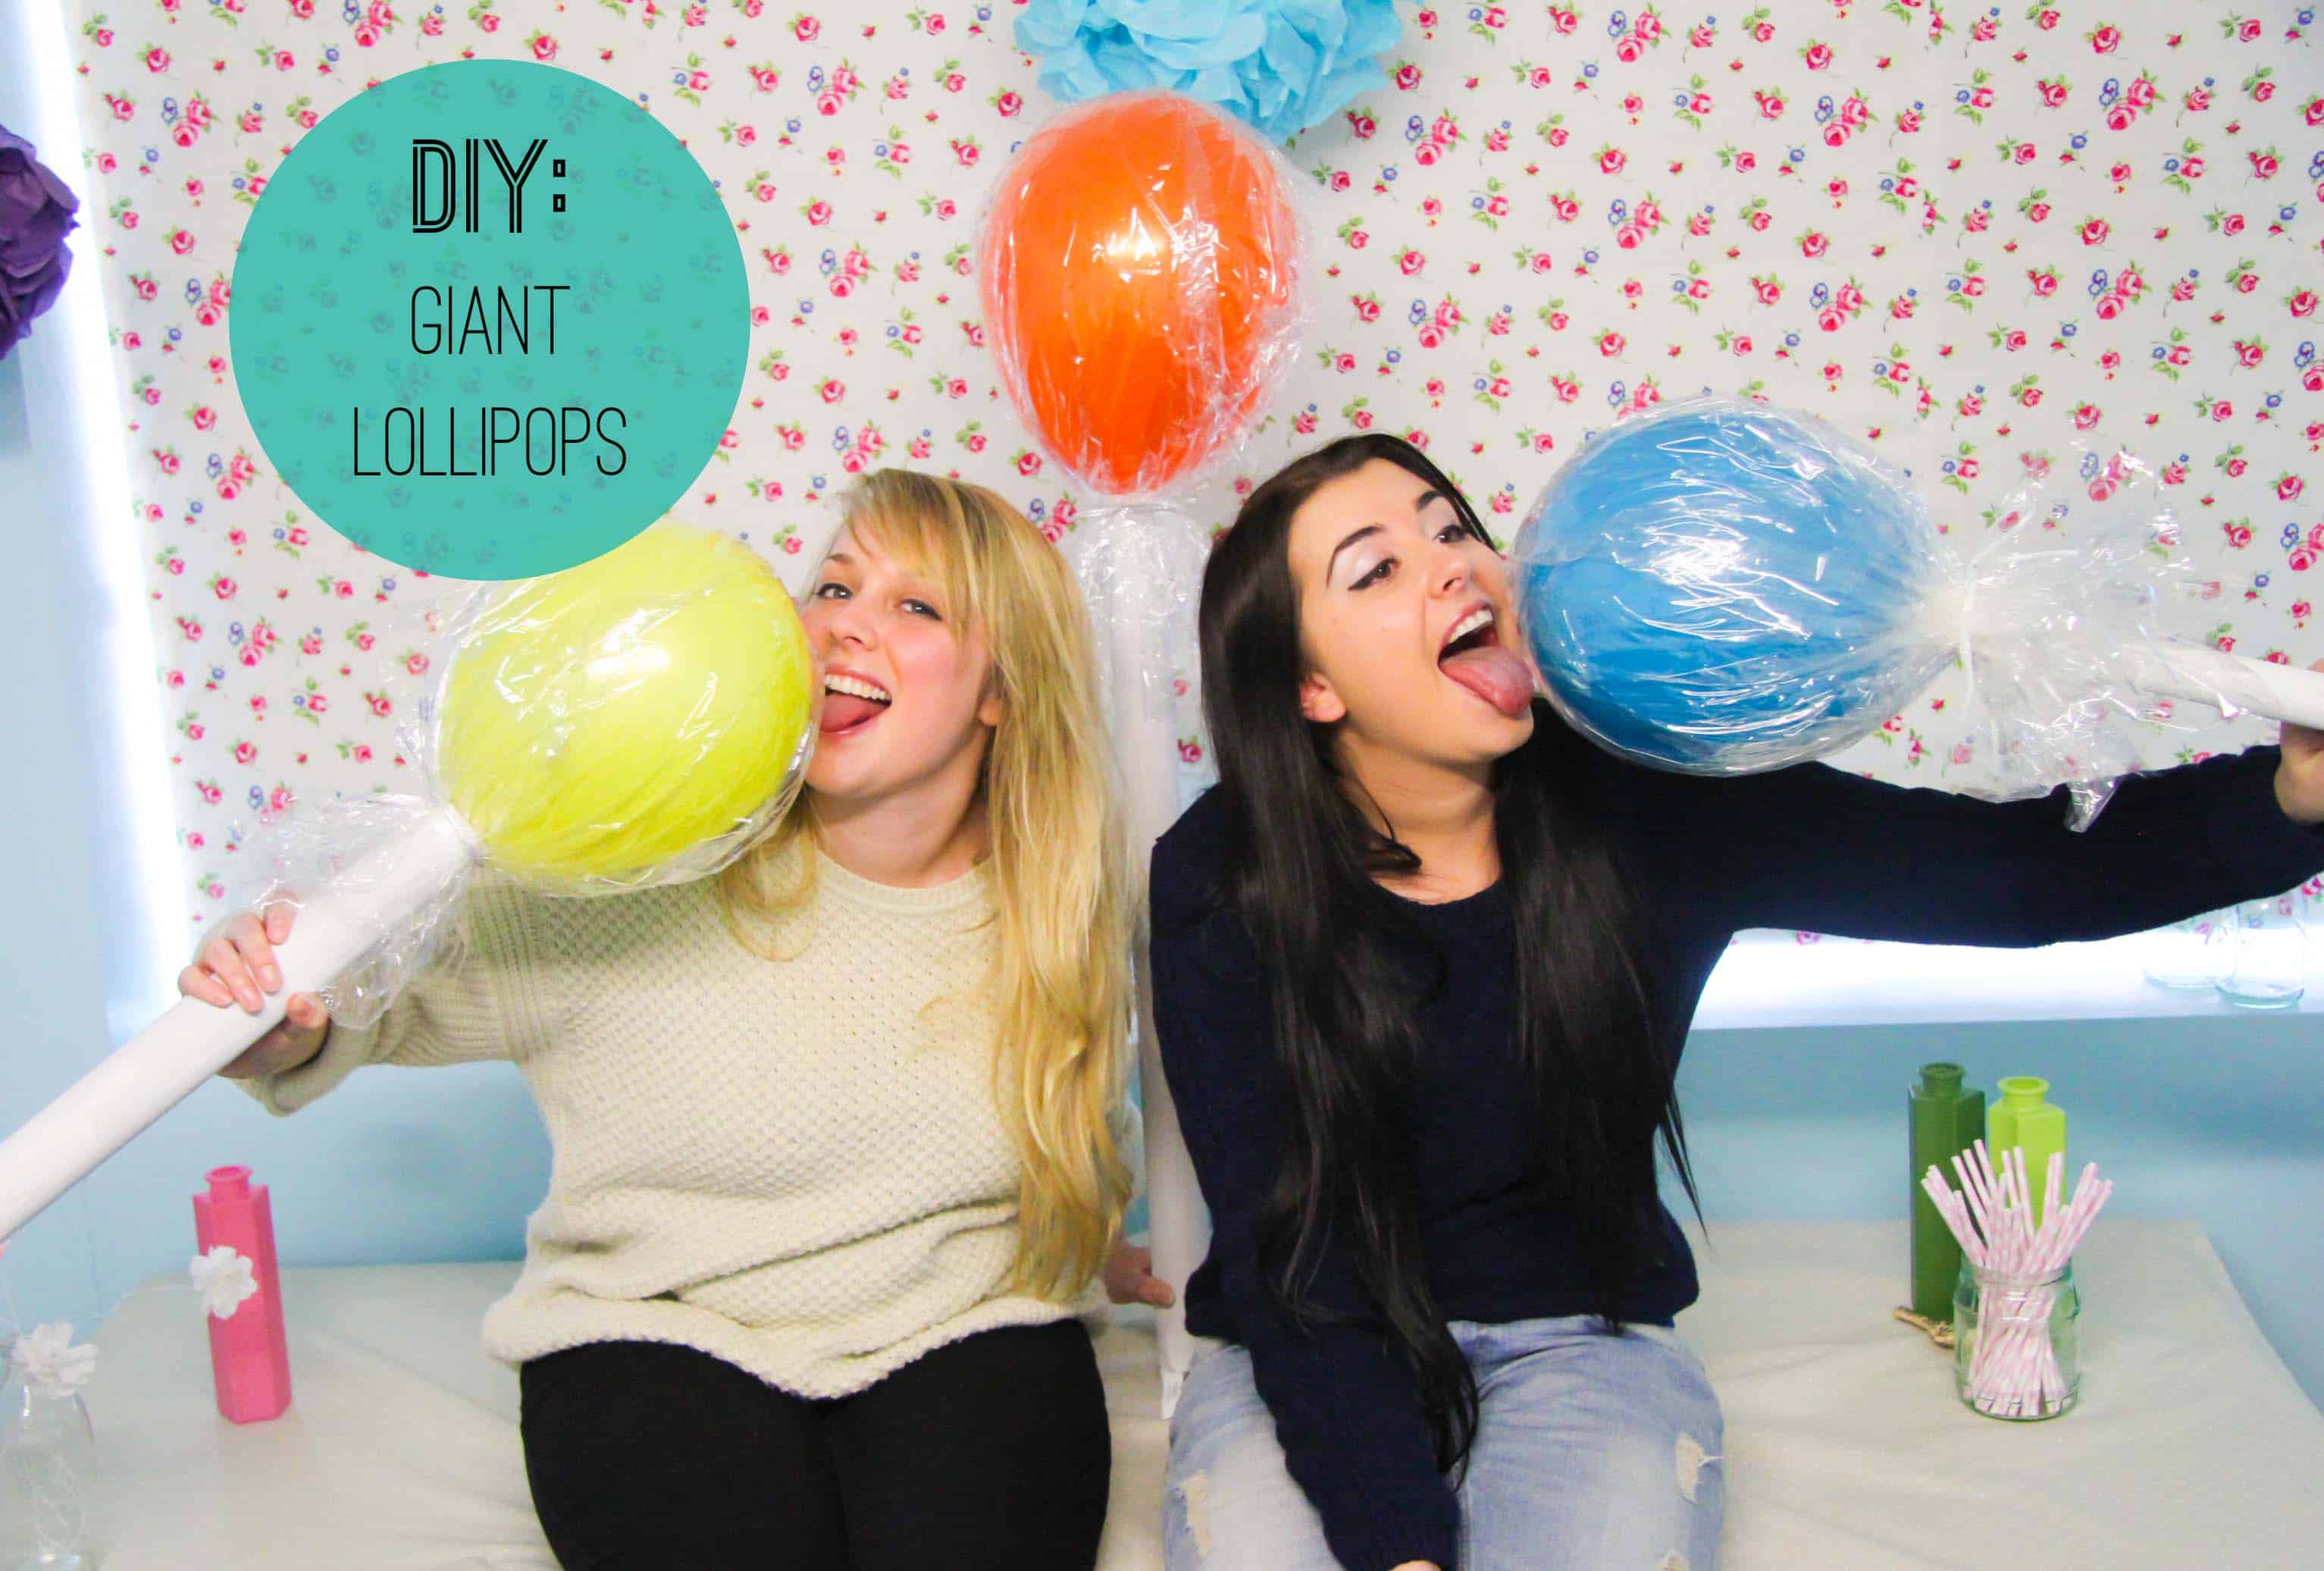
Wedding DIY: How To Make Giant Candy Lollipops!
It’s no secret that me and Emily are big lovers of colours and fun themes & when we had such great feedback from our Dr Seuss inspiration board a few weeks ago we couldn’t resist following on with a DIY that would work perfectly with any colourful and crazy decor!
These giant lollipops are really easy to make and would look amazing dotted around a room! Fun would instantly be added!
Why Is Making DIY Giant Candy Lollipops For Your Wedding a Great Idea?
Incorporating DIY Giant Candy Lollipops into your wedding is a whimsical and delightful idea that can bring a touch of nostalgia and fun to your special day. These oversized confections make for eye-catching and unique decor elements that can add a playful and festive atmosphere to your wedding venue.
Personalization
One of the key advantages of DIY Giant Candy Lollipops is the opportunity for personalization. By making them yourself, you can customize the colors, designs, and patterns to match your wedding theme or color scheme. Whether you opt for vibrant rainbow swirls or elegant pastel hues, these giant lollipops can be tailored to reflect your unique style and preferences, making them a memorable and personalized addition to your wedding decor.
Cost-effective
Furthermore, DIY Giant Candy Lollipops are a cost-effective alternative to traditional floral arrangements or elaborate decor items. Creating them yourself allows you to save money while still making a visually striking statement. The materials required for this DIY project, such as foam spheres, dowels, and cellophane, are relatively inexpensive and easily accessible. This budget-friendly option allows you to allocate your wedding budget towards other aspects of your special day while still having visually stunning and attention-grabbing decorations.
Versatility
Another advantage of DIY Giant Candy Lollipops is their versatility. These oversized sweet treats can be used in various ways throughout your wedding venue. They can be placed as centerpieces on guest tables, displayed near the entrance or photo booth area, or even used as props for unique wedding photo opportunities. Their larger-than-life presence is sure to capture the attention and spark conversations among your guests, creating a joyful and memorable atmosphere.
Lastly, creating DIY Giant Candy Lollipops can be a fun and engaging activity for you, your partner, and even your wedding party. It can be an opportunity to spend quality time together, working on a shared project that will contribute to the overall aesthetics of your wedding. Additionally, involving friends and family in the creation process can foster a sense of camaraderie and add an extra personal touch to your decorations.
In conclusion, DIY Giant Candy Lollipops are a great idea for your wedding because they allow for personalization, are cost-effective, versatile, and provide a fun activity for you and your loved ones. Adding these whimsical and oversized confections to your wedding decor can infuse your special day with a sense of joy, nostalgia, and creativity, ensuring a memorable experience for both you and your guests.
Ready to know how to make one by yourself? Here we go…
You will need:
♥ Accrylic white paint
♥ A paint brush
♥ Wrapping paper tubes
♥ String
♥ Sellotape
♥ Ribbon
♥ Balloons
♥ Cellophane
♥ Scissors
Step 1: Paint the wrapping paper tubes white! You may want to add a couple of coats to make sure that it looks lovely and thick!
Step 2: Blow up the balloons! But don’t blow them up too much, remember you want them to look quite round so that they resemble a lollipop.
Step 3: Cut a piece of string a little bit longer than the length of your tube and tie it to the end of your balloon
Step 4: Tie the other end to something heavy like a stone! It’s only to drop the string down through the tube!
Step 5: Drop the string down through the tube.
Step 6: Pull the string tight and tape in place inside the tube.
Step 7: Cut off the remaining amount of string along with the stone.
Step 8: Place the cellophane over top of the balloon and cut a piece long enough to reach below the balloon and onto the tube on both sides. Then cinch it around the balloon and hold in place.
Step 9: Tie a ribbon around to hold the cellophane in place!
You’re done! Now grab your next balloon and get making a few more!
Much Bespoke Love
Jessica ♥
Want to read more of our latest posts? Check out this spring floral styled shoot in Canyon Lake in Texas.


Love the idea girls, i was just wondering whats the best way to stick them to the ground??