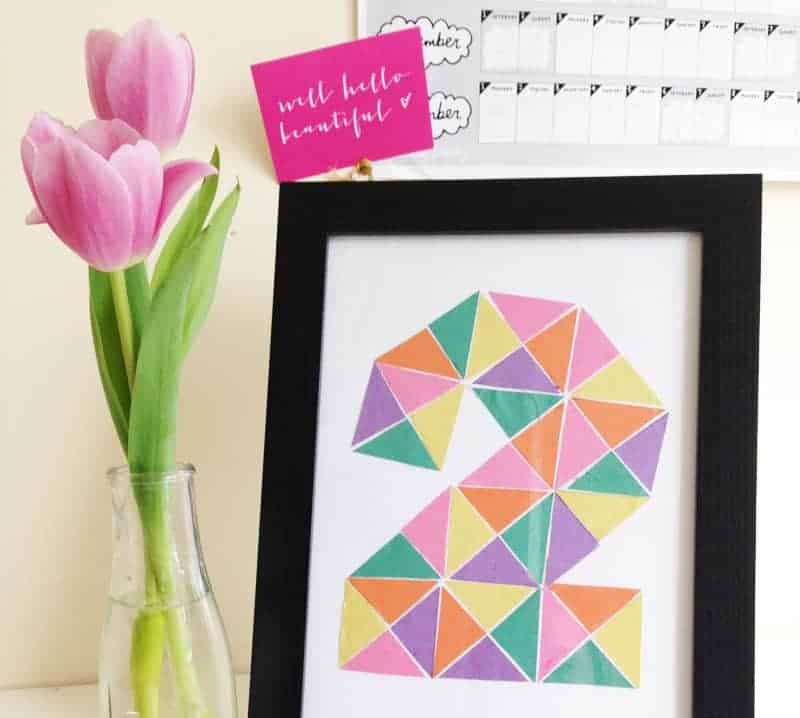
DIY: Geometric Table Numbers
I have a huge obsession with geometric prints right now! I love all the colour it instantly makes me happy! I have been racking my brain for ideas on how to incorporate bold prints into quick and easy DIY’s and came up with this little gem!
Now, I am going to be honest and tell you, that this is a little bit fiddly as you have to try and fit all the pieces together to make a smooth shape, its rather like a puzzle, however once you get used to how the shapes fit together you are on a roll.
(TIP: I found the secret was to try match the sides like for like, try to create square shapes.)
Step 1:
You Will Need: A selection of different coloured paper// A4 sheets of white paper with table numbers printed or traced on (one number per sheet.)// Ruler// Scissors// Glue// A4 Photo Frame (30 X 21cm approx.)//
Note: The A4 frame and sheets of paper can be whatever size you require dependent on how big or small you want your table numbers to be.
Step 2:
Begin by measuring out your coloured triangle shapes. Using a ruler, sketch squares on each piece of coloured paper each 5 x 5cms. Then draw a line diagonally through each square.
Step 3:
You are now ready to cut your triangles out.
Step 4:
Once you have cut the triangles out you will need to cut each triangle down the middle half again, to create the right size for your table numbers.
Step 5:
Now you can set about placing your triangle shapes where you want them on your number. Be sure to make sure they all fit properly before gluing them down.
TIP: If you have printed out the table number and found it hard to cover up the the bold black outline, cut the number out so that the black line is removed, you will then need to glue this number to another sheet of A4 once all the triangles have been glued down and the poster is dry. If you traced the number you can use an eraser to remove the pencil line – do this once the glue is dry, to avoid leaving marks.
Step 6:
You are now ready to glue down your triangle shapes – leave a small white gap between each shape, again this will help to fit all the triangles neatly on the number.
Step 7:
Once the number is dry you are ready to place in your frame and woila, you have your very own geometric table numbers!!
If you’re not getting married and you would like one of these around your home why not create a different shape like a heart? I also thought it would be super cool to cut out a printed photo instead of coloured paper and arrange it into a shape or number, for a cool way to display your photography!
Much Bespoke Love
Emily x


Love this!! I’ll have to try it out! I’ll post it on instagram! 😉
Awww thanks so much Kelly! I had lots of fun making it too!
x x x