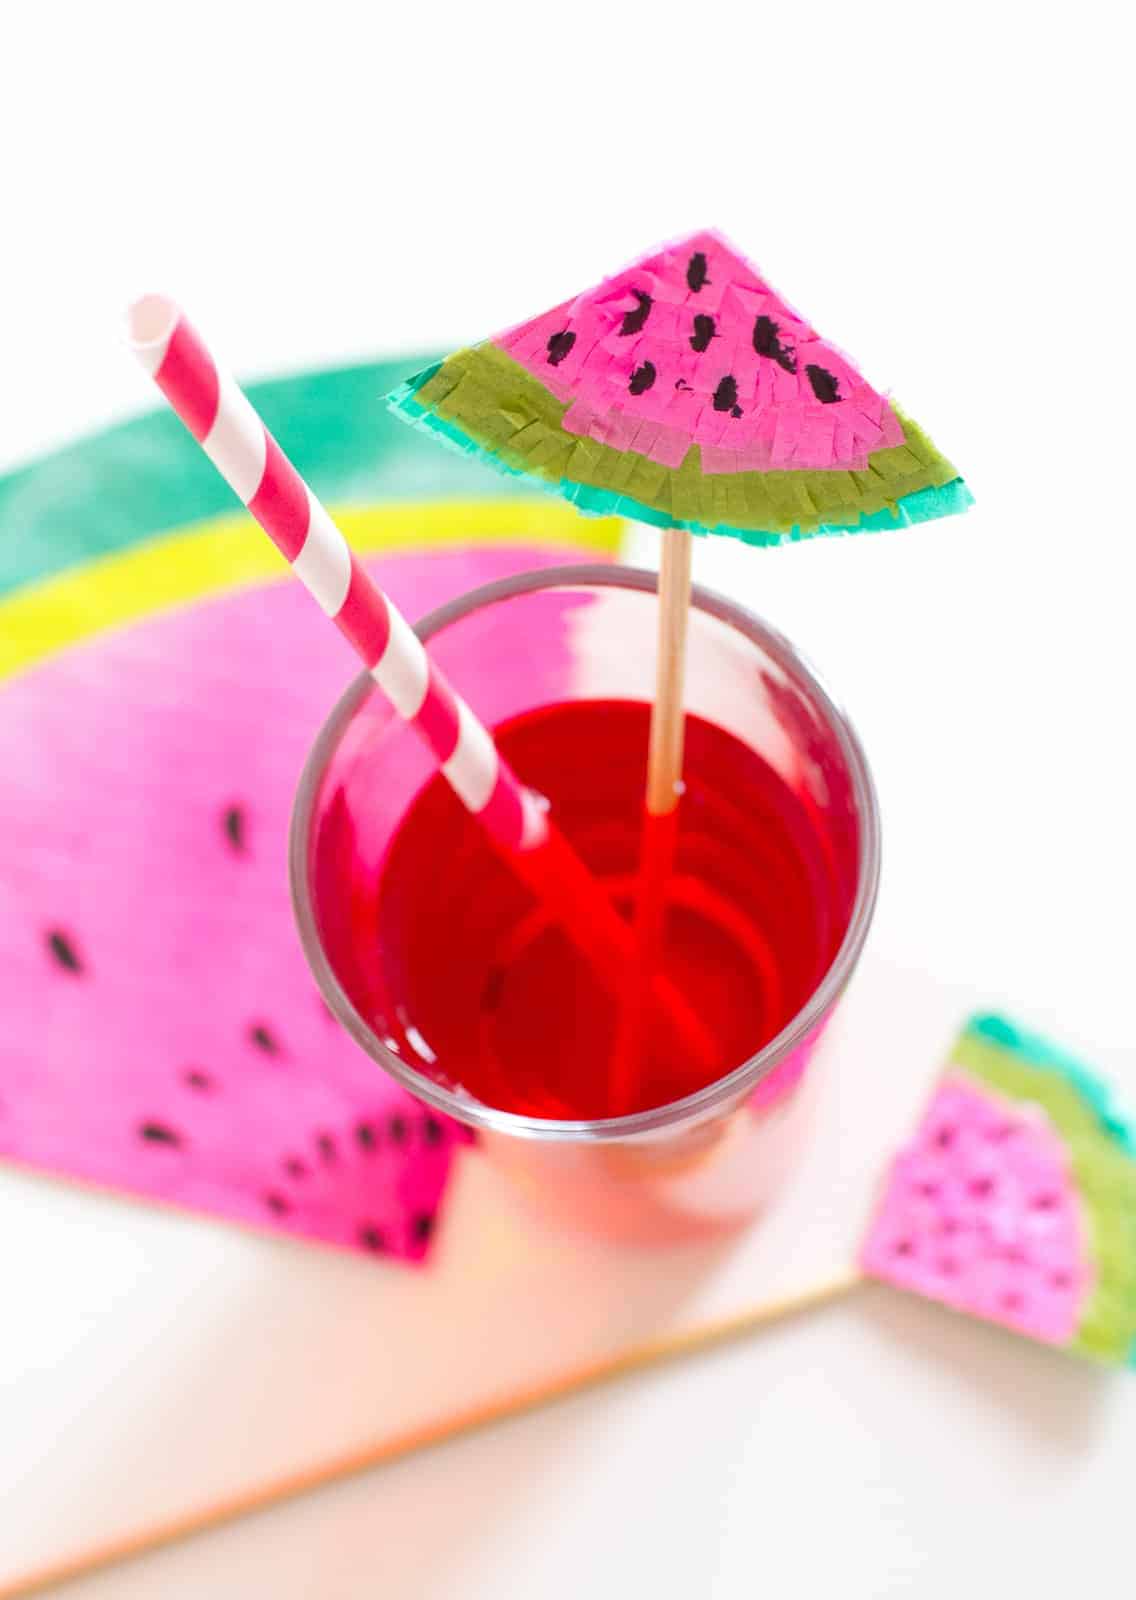
DIY Watermelon Drink Stirrers!

These would look fab in your cocktails this summer! All you’ll need to make them is:
A4 card in the colours pink, dark green & light green // Tissue paper in the colours pink, dark green & light green // A black sharpie // BBQ skewers // All purpose glue // Scissors //
STEP 1: The first thing we’re going to do is cut out the 3 shapes that make the base of our stirrer, the shape you want to create is a similar to a triangle but with a curved long edge. Next cut your dark green card into the largest shape, then your light green card slightly smaller & finally your pink card the smallest.
STEP 2: Glue your shapes on top of one of another having the dark green on the bottom followed by the light green then finally the pink on top!
STEP 3: Take each colours of your tissue paper and cut a long strip out of each, roughly about 1 centimetre in width, then create a fringe effect.
STEP 4: Take your dark green tissue paper and glue the fringes bit by bit onto the dark green section of the card, layer the fringed tissue paper on top of each other until you reach the light green section.
STEP 5: Repeat with the light green until you reach the pink section.
STEP 6: Then you guessed it! Repeat again with the pink until your water melon is fully fringed!
STEP 7: Next take your sharpie and draw on a few black pips.
STEP 8: Finally, flip your watermelon over and glue your BBQ skewer to the back of the card.
Voila! You’re done! Easy, cute and perfect for the summer! Don’t forget to tag your DIYs on instagram with #bespokebridediy , we love to see your creations!
Alternatively, if you’d prefer to watch this tutorial as a video then you can do below! You can also subscribe to our YouTube channel to keep up to date with all of our videos!
Happy crafting!
Much Bespoke Love
Jess x


